
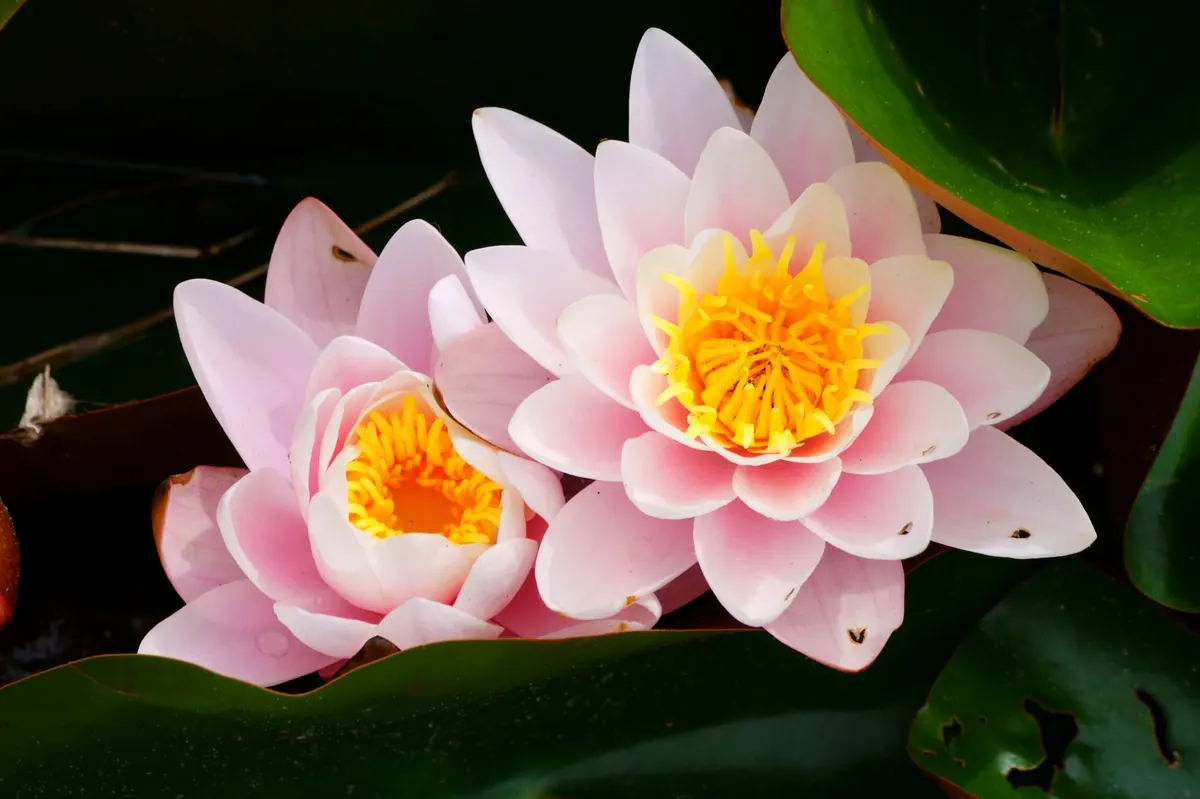
A pond is the most effective thing you can add to a British garden for wildlife, and it does not need to be big. A hole a couple of metres across, lined and planted, will draw in frogs, newts, dragonflies and bathing birds within a season or two. No pump, no filter, no grand design required — just a sunny corner, a liner and a little patience.
It is also, gram for gram, the best value wildlife project you can build. A butyl liner and a dozen native plants cost less than a decent bird feeder and a bag of seed, and the return is far greater: a single small pond will hold more species than a mature hedge. What follows is a method that works in an ordinary UK garden, whether you have a full plot in the shires or a paved yard in a city.
Choosing Where to Put It
Aim for a spot that gets sun for at least half the day. Warmth brings on frogspawn earlier and encourages the flowering plants that bees and dragonflies use. Deep shade all day is the one place to avoid.
Keep clear of large trees. Roots can press against a liner, and fallen leaves rot down into the water, feeding the algae you don't want. Steer clear, too, of anywhere that collects run-off from a lawn that has been fed or weeded — those chemicals end up in the pond. Even a few metres of sloping ground above the pond can funnel weedkiller straight into it after a heavy shower.
Think about where you will actually see it. A pond beside a path, a bench or a kitchen window gets watched, and a pond that gets watched gets looked after. A slight dip in the ground saves effort when you come to fill it, and a spot near an outdoor tap makes topping up in a dry spell far less of a chore.
If there are toddlers about, note that even 20cm of water is enough to drown a small child. In a family garden, either site the pond behind a fence or plant a thorny, dense barrier, or raise the pond so the water surface sits at waist height. Never rely on a wobbly net or a thin plastic grid, and always fill a pond slowly, with the liner visible, so nobody mistakes it for a hole in the ground.
Size, Shape and Depth
Small is genuinely fine. Something around 1.5m by 1m will keep frogs and insects happy, but avoid going much below that: a tiny volume of water heats up and dries out quickly. If you can spare two or three square metres, take it. A pond of 2m by 1.5m with a 60cm centre holds roughly a thousand litres, which is enough to stay stable through a heatwave and a hard frost alike.
Depth matters more than surface area. Dig a central area roughly 60–75cm deep — somewhere for creatures to retreat to when the surface freezes, and enough depth to keep the water cool in summer. Around the edge, cut a shallow shelf about 20–25cm deep for marginal plants, and a broad, gently sloping beach on one side so frogs, birds and hedgehogs can walk in and out. Straight sides are a trap; sloping ones are a welcome mat.
Make the outline irregular rather than a neat circle. Mark it out with a rope or a hose first — curves look different on the ground than they do in your head. Kidney shapes and wavy ovals look natural almost anywhere, and they create more edge, which is where the wildlife is.
Digging and Lining
Work out the liner size before you start digging. Take the longest length and width of the finished hole, add twice the maximum depth, then add at least 45cm to each measurement for overlap and for tucking the edges under. A hole 3m by 2m and 60cm deep, for example, needs a liner around 4.2m by 3.2m. Buy a little bigger than you need: running short is a disaster, having spare is merely untidy.
Dig in stages. Lift the turf first and stack it upside down in a corner — the soil beneath it makes good planting pockets later. Then work down in layers, keeping spoil on a tarpaulin. You will have far more excavated soil than you expect, so plan where it goes: use it to build a gentle bank on one side, raise a surrounding bed, or make a rockery. Check the depths and the level of the shelves as you go with a plank and a spirit level — a shelf that slopes leaves plants alternately drowned and dry.
Once the hole is right, remove every stone, root, nail and shard. A single sharp flint or a forgotten fork tine will puncture a liner. Line the base with two or three centimetres of soft sand, then cover that with a geotextile underlay or old carpet with the tacks removed. Then the liner itself: butyl or EPDM rubber, at least 1mm thick. Cheap polythene is a false economy — it splits and perishes within a couple of years, usually in the middle of a drought.
Drape the liner loosely into the hole with the folds roughly arranged, then start filling with water. Fill slowly. The weight of the water pulls the liner down into every undulation and the folds settle themselves as the pond rises. Do not trim the excess until the pond is full. Then trim, leaving 30–45cm all round, and bury the edge under turf, soil or a few flat stones to hide it and protect it from sunlight, which degrades rubber over time. Leave one stretch of edge shallow and gentle, or lay a stone ramp, so that anything that falls in can climb back out.
Filling, Planting and Letting It Settle
Rainwater is the best filling water, and a water butt tapped into a downpipe makes the job easy. Tap water will do at a pinch, but let it stand for a day or two before it goes in, and never top up from a hose fitted with a fertiliser attachment. Tap water arrives rich in the nutrients that feed algae, so the less you use, the clearer the water will stay.
Leave the pond to stand for a week or so before planting, and no longer. There are three groups of plants to think about:
- Oxygenators: hornwort, water starwort and spiked water milfoil live entirely below the surface. They soak up nutrients, compete with algae and give tadpoles somewhere to hide. Two or three bunches dropped in with a weight is plenty.
- Marginals: marsh marigold, water forget-me-not, water mint, ragged robin, lesser spearwort and purple loosestrife sit on the 20–25cm shelf. Plant them in baskets of loam-based compost with no added fertiliser, or in pockets of the excavated soil tucked into the shelf itself.
- Floaters: a dwarf water lily or a patch of common water crowfoot. Aim to cover no more than a third of the surface — this shades the water and starves algae of light, while leaving open water for birds to bathe.
Use native species wherever you can and buy them from a nursery, never take them from the wild. Avoid invasive non-natives such as Canadian pondweed and floating pennywort, which are almost impossible to remove once established. And do not add fish — even a couple of goldfish will clear a small pond of tadpoles, insects and newt eggs within a season.
What Will Arrive, and When
This is the part that surprises people. You do not need to stock a wildlife pond; you simply wait for it to stock itself.
- Within weeks: water boatmen, pond skaters, daphnia, midge and mosquito larvae, and the first algae. Small birds will find the shallow edge and start bathing.
- Within a season: common frogs and smooth newts, damselflies laying eggs in the submerged stems, and bees and hoverflies drinking at the damp margins.
- Within two or three years: dragonflies, water beetles, pond snails, and — if you are fortunate — a visiting hedgehog coming down for a nightly drink.
One rule matters here: never move frogspawn, pond water or plants between gardens. Amphibian diseases and invasive weeds spread from pond to pond this way, and a well-meant gift can devastate a local population. Let yours arrive on its own, which it will.
Looking After It Through the Year
A wildlife pond needs far less work than a filter pond, but it does need a light hand at the right moments rather than a heavy hand at the wrong ones.
- Spring: twirl blanket weed out with a stick and leave it on the side for a day so that anything caught up in it can crawl back into the water. Check plants are not swamping the open water.
- Summer: top up with rainwater in dry spells, ideally in the evening. Keep an eye out for the water level dropping more than a few centimetres.
- Autumn: net out fallen leaves before they sink and rot, but leave a few in the bottom for overwintering larvae. Cut back no more than half the marginal growth.
- Winter: leave seed heads and hollow stems standing — they are shelter for insects through the coldest months. If the surface freezes, do not smash it: the shock can kill amphibians resting below. Rest a pan of hot water on the ice instead.
The golden rule is never to empty and scrub a wildlife pond. A "dirty" pond is a working pond: the silt, the slime and the cloudy water are the whole food web, from microscopic life up to the frog sitting on the edge.
Even a full overhaul is rarely needed. If silt builds up beyond about 10cm, clean out half the pond in early autumn, leave the rest undisturbed, and repeat the following year. Anything more drastic sets the whole community back years.
Build it this autumn, plant it before Christmas, and ignore it through the winter. By the time the frogs arrive in February, you will have made the single best piece of wildlife habitat in your neighbourhood — for the price of a hole, a sheet of rubber and an afternoon's digging.
Photo: Kyrylo Zahorodniy / Pexels
Related posts
More stories you’ll love reading